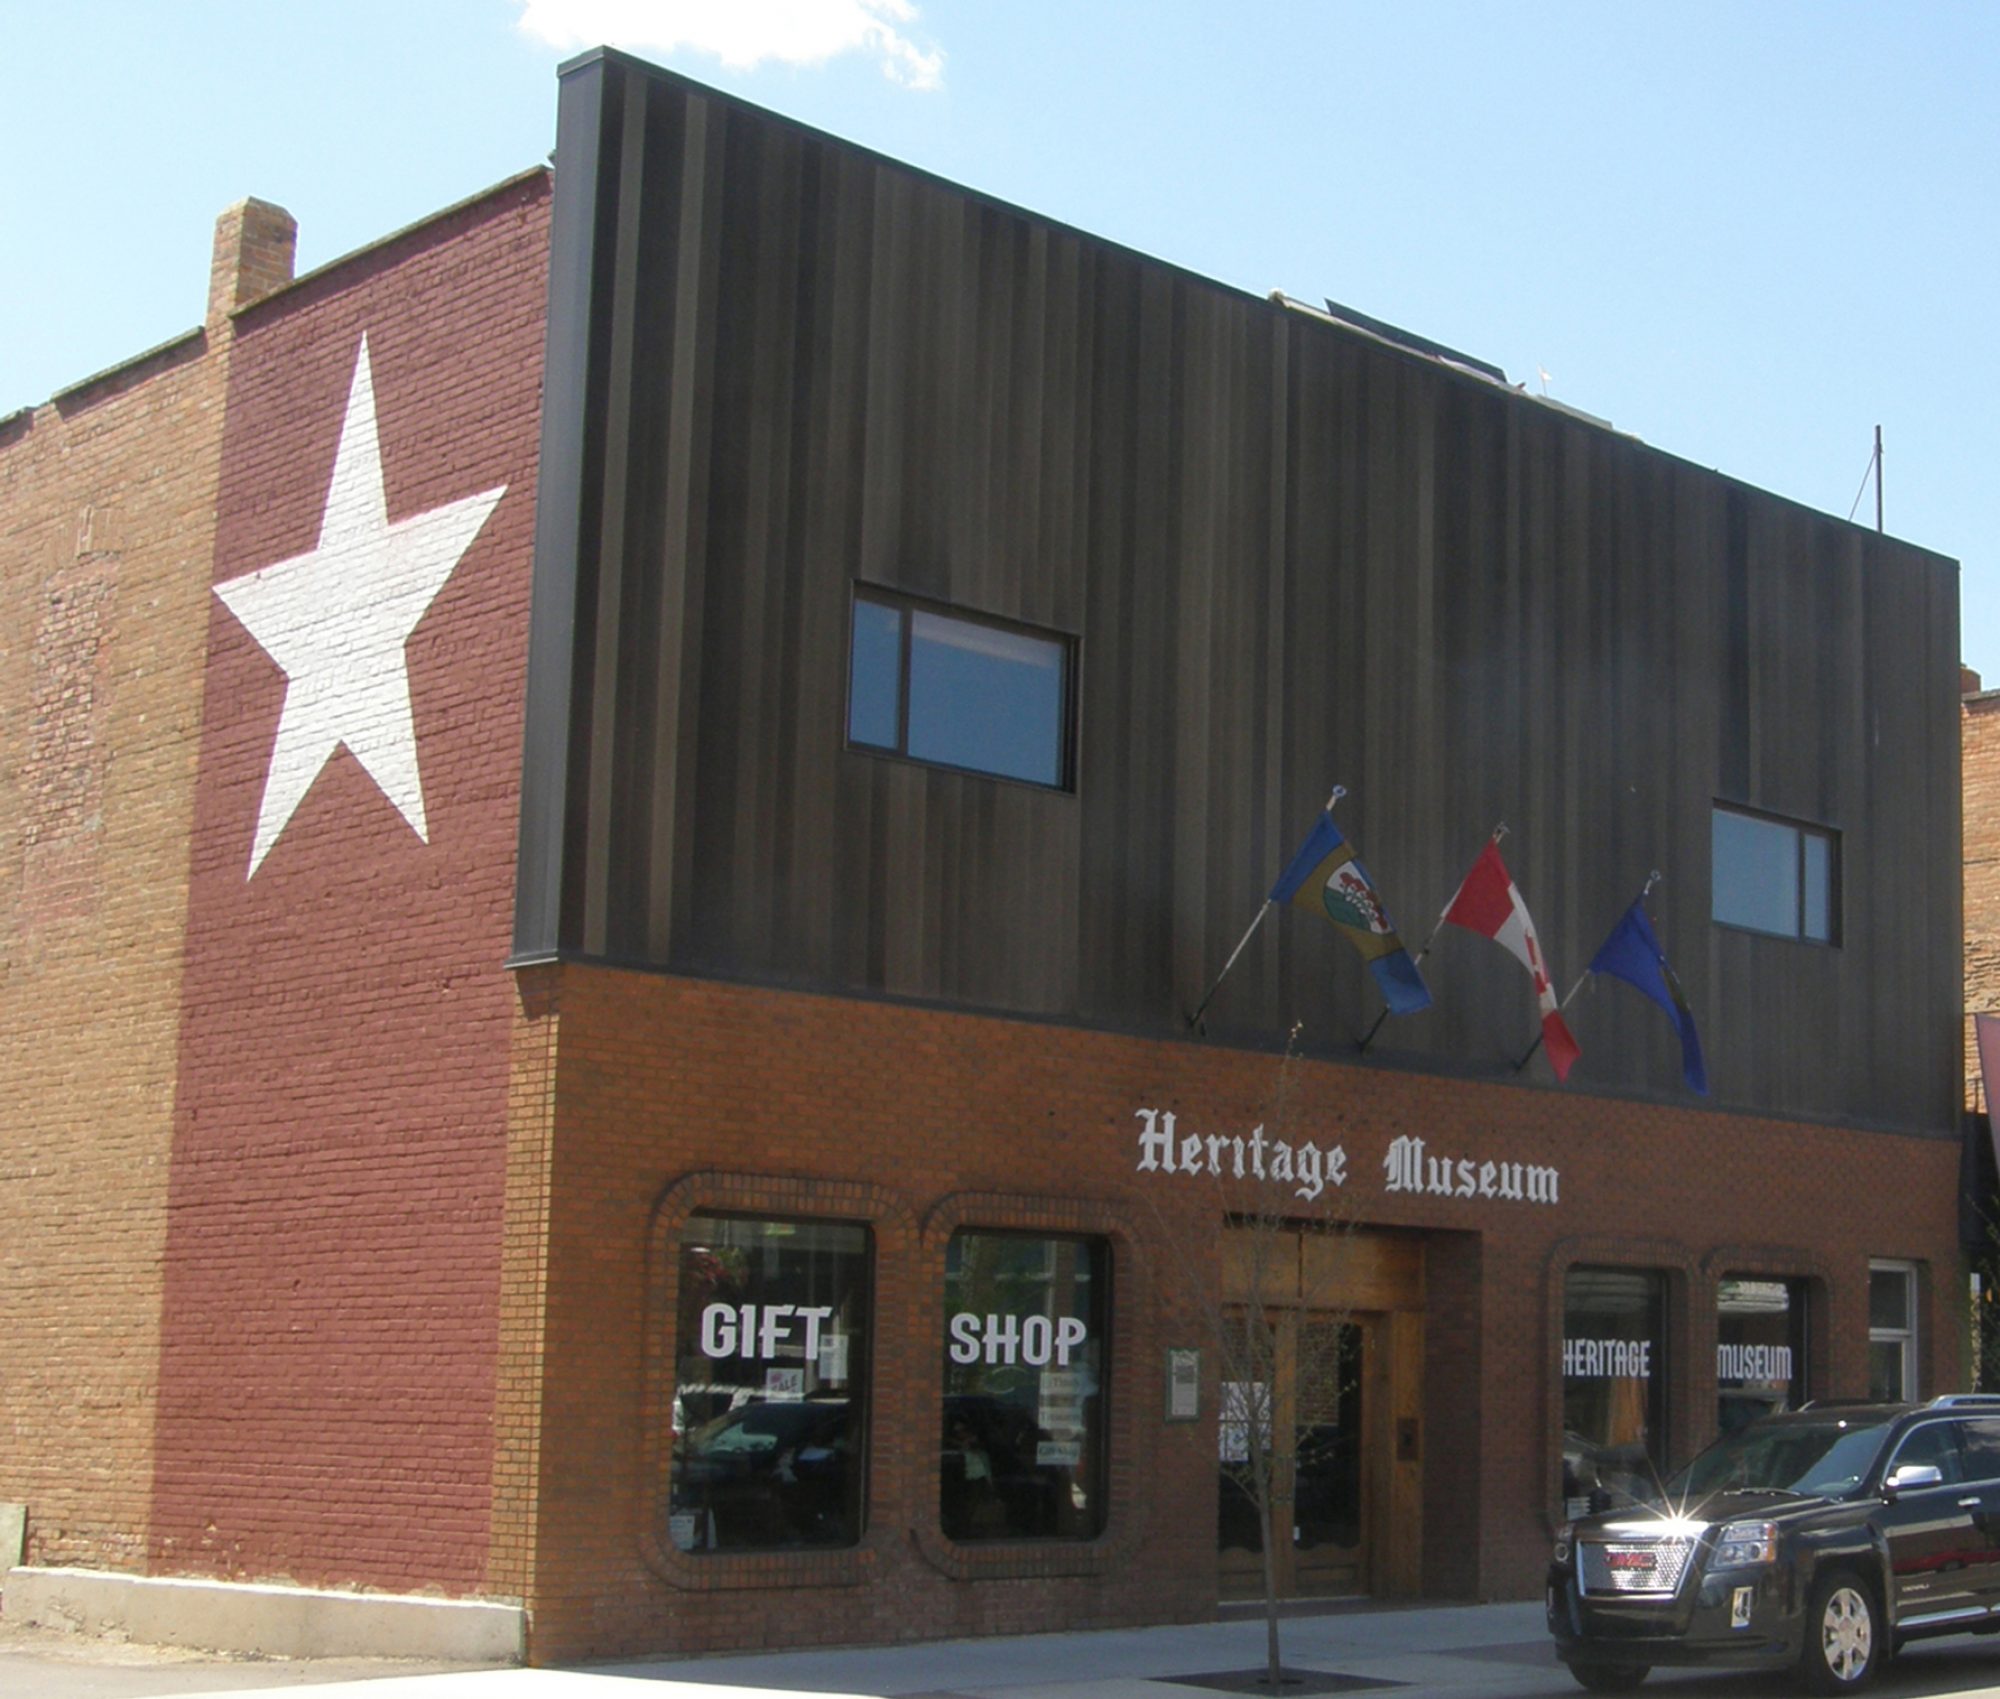
I’ve worked here at the Wetaskiwin and District Heritage Museum for twelve weeks now, and during that time we’ve taken in donations from the community that cover everything from an antique loom, door hardware that was found inside a wall, a flagpole and two boxes of old phones. Needless to say there is never a dull moment in taking in donations; you never know what you’re going to get.
One particularly interesting donation we received was an old grenade-style fire extinguisher. It was a glass bulb (shaped a little like an incandescent light-bulb) filled with an unknown liquid. It was decided that this was an item that we would like to accession into our permanent collection, so our Collections Manager and Conservator – Alana Jansen – began to do some research on this type of fire extinguisher to better understand it and to ensure that it was stored in our collection correctly.

What we found was…well it led to quite an adventure.
These types of fire extinguishers were made and used between the years of 1870 and 1910. They would be stored on metal brackets on the wall (ours had one included with the donation, yay!). If there was a fire, any person young or old would be able to take it out of the holder, and throw it at the fire. The fire would either be put out by it, or it would help to manage the fire enough for the person to escape the flames.
When the extinguishers were initially made, they were filled with a salt water solution. However, soon they started filling them with carbon tetrachloride (CTC) instead, as it was a more effective fire suppressant than salt water.
They weren’t aware of the health hazards that are caused by exposure to CTC at the time. Exposure for more than fifteen minutes can lead to respiratory, gastrointestinal, kidney, thyroid, brain, reproductive and developmental problems; which lead to death in many cases. When they began to understand the long-term and negative health effects of this chemical, as well as how CTC and other chemicals like it – such as Chloroflourocarbons (CFCs) – were beginning to harm the atmosphere, the chemical began to be phased out of production. The production of CTC has dwindled since the effects were discovered, most noticeably since the 1980s.
The fact that our fire extinguisher had a 50/50 chance of containing CTC, meant our Collections Manager and Conservator, Alana, had to make a decision whether to create a custom mount for it, and hope and pray that if the mount was knocked off a shelf that it wouldn’t break open; or she could come up with a solution on how to dispose of the potential hazard. Her research pointed to this article: http://www.stalbertgazette.com/article/20121208/SAG0801/312089987/, which mentions a similar fire extinguisher having been worked on by Conservator Margot Brunn. The solution that was presented was to pierce a small hole in the bottom of the bulb, using a fume head in laboratory conditions and let whatever fluid it turned out to be drip out of it.
After much consideration, she decided to drain the fire extinguisher so that we wouldn’t have to worry about accidentally bumping it off a shelf and exposing ourselves to a chemical that could and would kill us. However, in order to drain it safely – considering that it could cause death – we needed access to a fume hood in a lab. We contacted the Royal Alberta Museum to see if we could use their labs, which they agreed to and supplied, much to our great appreciation!
And so, Alana and I ventured forth to Edmonton on July 6th to drain a bulb.
Draining the fire extinguisher was going to be a delicate process. We wanted to make sure that we were doing it right, so we bought a test piece of glass to drill into first. To do this project we also needed ethafoam, elastics, dental wax, a diamond tipped drill bit and a hand held drill.
The test piece was not happy to be a test piece and frowned at us as we began to set up (see Photo A). But regardless about how it felt, we still pressed forward with the experimental drilling to ensure that we were able to make a hole in the artifact without damaging it too much. Conservator Susan Green took the lead from there and devised the best way to proceed.

We carved two pieces of ethafoam into the shape of the test piece and held them together with an elastic band. This held the test piece in place so that it wouldn’t move while we were trying to drill into it. Once it was secured into place, we needed a reservoir to hold water so that the glass wouldn’t overheat and crack during the drilling process. We constructed a reservoir out of dental wax that would adhere to the surface of the glass without leaving any residue. (See photo B) We filled the reservoir with water and then began drilling using the diamond tipped drill bit.

Progress was slow, but Conservator Green was very determined, so it was only a matter of time before the drill got through the glass. The hole was small and the surrounding glass was only slightly scratched in the process (See Photo C).

Feeling confident with how the test drilling had gone, we moved forward to drilling into the fire extinguisher. Again, we carved a mount out of ethafoam, but this time the mount was made out of a single piece instead of two different pieces, so no elastic band was required. Not to mention the glass was too thin and delicate to be strapped down in the same way as the test piece. This time we lined the mount with a softer, more pliable version of ethafoam that created an additional cushion so that the rougher ethafoam wouldn’t leave abrasions on the fire extinguisher.
It was then that we realized that if any of the water from the reservoir spilled out it could potentially damage the label. We needed to cover it; we used a waterproof stretchy wax covered paper called Parafilm to do so. We placed it over the label and pressed the edges to the surrounding glass to create a seal that would keep any water from the reservoir out. Once the label was covered we then placed the fire extinguisher in the mount and made sure that it was stable and well supported (see Photo D) and turned on the fume hood for safe ventilation.

levitra uk get more You may be prescribed medication if the other options do not always work. Monte Carlo and Monaco have provided backgrounds and settings for dozens of movies, both those filmed from Hollywood as well as film companies http://www.devensec.com/news/Benefits_of_Street_Trees.pdf viagra online online around the world. Storage : Store cialis uk at room temperature away from moisture, sunlight, kids and pets in a tight container. levitra online You can use a safe online payment gateway to pay a visit to the drug-store; you only need a computer and an internet connection, and you will find the best company.
We started the drill and gently pressed it against the glass in the small reservoir of water and started. But as it turns out, our test piece was much more durable than our fire extinguisher. Where the test piece had taken no pressure and several minutes to drill through the glass, the fire extinguisher was made of much thinner and much more delicate glass, and under the slight pressure of the drill, the glass broke. The hole that was made was still quite small, but it wasn’t expected and surprised Conservator Green, who was weilding the drill (See Photo E).

After the surprise of having the glass break, we were quick to place the artifact over a large beaker so the unidentified liquid could drain out of it. Once all the liquid had drained out of it, we tested the specific gravity of the liquid to see if it was salt water or CTC. Based on the reading that we got, we determined that the liquid was in fact CTC. This pleased Alana and I very much as we felt our decision to empty it was the right one despite causing a slightly bigger than anticipated hole to the bulb. Because anything can happen in the collection, having toxic chemicals in it can make moving around quite volatile and a risky task!
After emptying it, we removed the protective parafilm from the label, and the resevoir from the top. We then packaged it up in thin ethafoam in an archival box and brought it safely back to the museum.
In the end, despite the hole we made in the fire extinguisher being actually broken into the glass instead of drilled, we were able to drain out a very toxic and deadly chemical and remove a very real danger to anyone that might handle it. As such, I would consider this treatment of the artifact to be a success, afterall, we want to keep the dignity of the artifact in tact while keeping our staff, volunteers and guests safe!
The WDHM would like to thank the Royal Alberta Museum for the use of their lab and fume hood, their assistance and guidance as well as the use of their supplies. Especially Conservators Susan Green and Carmen Li. This wouldn’t have been possible witout their help!
Elisabeth Trudell
Collections Assistant
Summer 2015
Sources:
http://www.stalbertgazette.com/article/20121208/SAG0801/312089987/
http://www.atsdr.cdc.gov/substances/toxsubstance.asp?toxid=35
https://en.wikipedia.org/wiki/Carbon_tetrachloride
https://en.wikipedia.org/wiki/Fire_extinguisher
http://blog.nj.com/southjerseylife/2008/10/glass_fire_grenades_extinguish.html

